Amigurumi Crochet Patterns by Skill Level
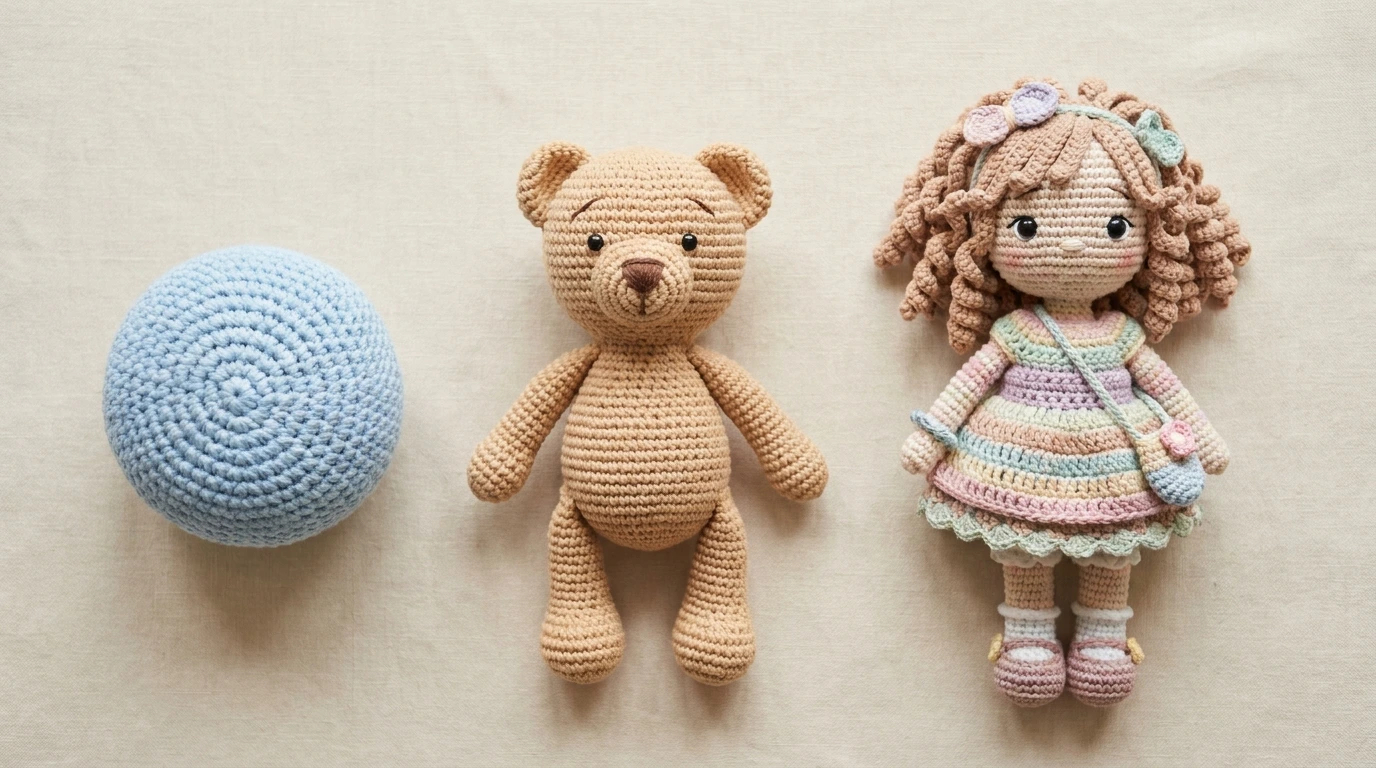
One of the questions I get asked most often is some version of “where do I even start with amigurumi? and the honest answer is that it depends entirely on where you are in your crochet journey. Not all amigurumi crochet patterns are created equal; some are genuinely forgiving for a first attempt, while others assume you already know how to shape limbs, joint pieces, or work from a more complex chart. Instead of grouping by animal or character, I wanted to organize this list by skill level, so you can find the right amigurumi crochet patterns for exactly where you are right now.
Table of Contents
1. Beginner Amigurumi Patterns
If you’ve never made an amigurumi before, start here. These amigurumi crochet patterns rely on the most basic technique in the whole craft a simple ball or egg shape worked in a continuous spiral which makes them the least intimidating way to get a feel for the process.
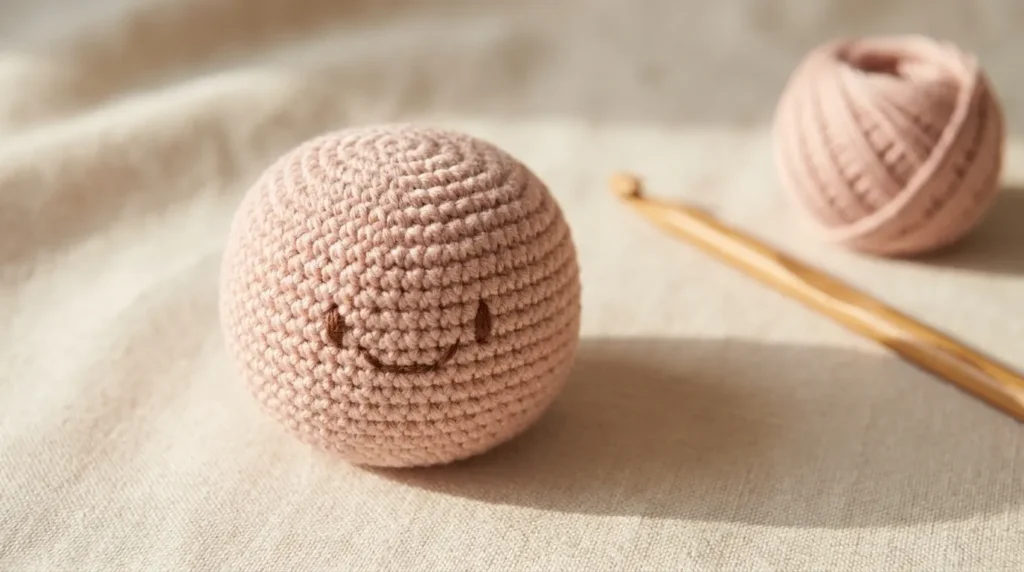
Difficulty Level
Beginner | Estimated Time: 2-3 hours
Materials You’ll Need
- Yarn: Worsted weight cotton or acrylic yarn (30-50g)
- Hook Size: 3mm – 3.5mm
- Additional Items: Polyester fiberfill, safety eyes or embroidery floss, yarn needle, stitch markers
- Optional Embellishments: Simple embroidered face, small bow
Key Features & Benefits
- Teaches the core amigurumi skill of working in a continuous spiral
- No limb attachment required, keeping the process simple
- Fast enough to finish in one sitting
- A confidence-building first project before moving on to more complex shapes
Size & Dimensions
- Height: 6-10cm
- Yarn Needed: 30-50 grams
Best Color Combinations
- Soft Pastel: Blush + White
- Classic Neutral: Cream + Tan
- Playful Bright: Yellow + White
Customization & Variations
- Make a simple round shape into a fruit, planet, or basic animal head
- Add a small embroidered face for personality
- Attach a keyring or loop to turn it into a charm
- Experiment with stripes using two colors
- Make a matching set of 3-4 small shapes as a starter collection
Perfect For
- Absolute beginners – the gentlest possible introduction to amigurumi
- Testing new yarn or hook combinations before a bigger project
- Quick, low-stakes practice – if it goes wrong, you’ve lost very little time
- Building confidence before attempting limbs or joints
Pro Tips & Maintenance
- Use a hook one or two sizes smaller than the yarn label recommends to keep stitches tight
- Count your stitches at the end of every round until spiral counting feels natural
- Stuff firmly but evenly to avoid a lumpy finished shape
- Hand wash gently and reshape while damp
2. Intermediate Amigurumi Patterns
Once the basic spiral feels comfortable, the next step in amigurumi crochet patterns is learning to shape and attach limbs arms, legs, ears, and other features that turn a simple ball into a recognizable character.
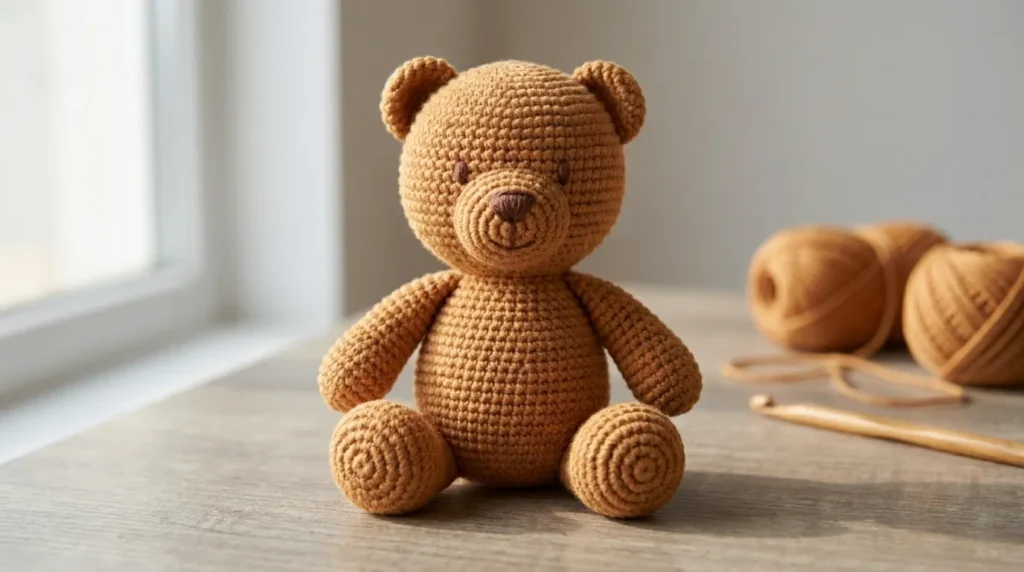
Difficulty Level
Intermediate | Estimated Time: 5-8 hours
Materials You’ll Need
- Yarn: Worsted weight cotton or acrylic yarn (75-125g)
- Hook Size: 2.75mm – 3.5mm
- Additional Items: Polyester fiberfill, safety eyes or embroidery floss, yarn needle, stitch markers
- Optional Embellishments: Small clothing pieces, embroidered details, bows or accessories
Key Features & Benefits
- Teaches limb shaping and symmetrical attachment
- Introduces basic color-changing techniques
- Results in a recognizable character shape, not just a ball
- Builds the core skill set needed for most amigurumi patterns going forward
Size & Dimensions
- Height: 12-18cm
- Yarn Needed: 75-125 grams
Best Color Combinations
- Classic Teddy: Tan or Caramel
- Modern Neutral: Oatmeal + White
- Playful: Dusty Blue or Sage Green
Customization & Variations
- Add a small sweater or scarf using simple rectangle panels
- Create jointed limbs for a poseable character
- Add embroidered facial expressions instead of safety eyes
- Make a matching mini version at a smaller scale
- Personalize with an embroidered initial on a tag
Perfect For
- Crocheters comfortable with the basic spiral and ready for the next skill
- Gift-giving – a recognizable character reads as more thoughtful than a simple shape
- Practicing symmetry – matching limb placement on both sides
- Building toward more advanced patterns
Pro Tips & Maintenance
- Attach limbs by counting rows from the same starting point on each side to keep them symmetrical
- Weight the base slightly with extra stuffing so the character can sit upright
- Avoid glass or breakable eyes for gifts intended for young children
- Spot clean when possible to preserve the shape and stuffing over time
3. Advanced Amigurumi Patterns
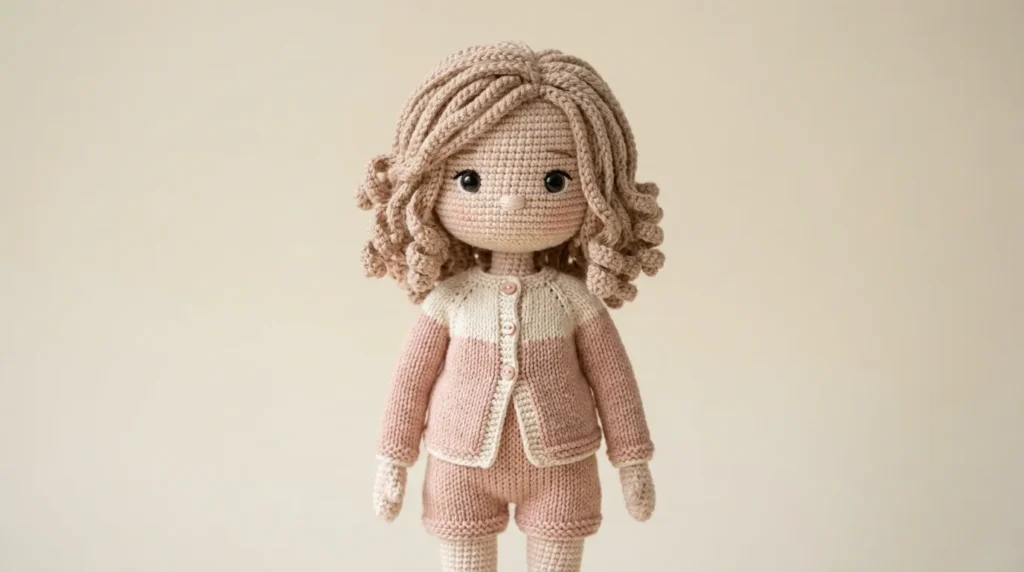
At the advanced level, amigurumi crochet patterns start to involve full-body proportions, removable clothing, hair techniques, and sometimes jointed movement. This is where the craft becomes as much about construction and planning as it is about the stitches themselves.
Difficulty Level
Advanced | Estimated Time: 12-18 hours
Materials You’ll Need
- Yarn: Worsted weight cotton yarn in multiple colors (150-250g total)
- Hook Size: 2.5mm – 3.5mm
- Additional Items: Polyester fiberfill, safety eyes or embroidery floss, yarn needle, small amount of yarn for hair, joint discs (optional)
- Optional Embellishments: Removable clothing, tiny accessories, embroidered facial expressions
Key Features & Benefits
- Full-body proportions – a genuine test of shaping skills
- Often includes removable outfits or jointed movement
- Highly personalizable in hair, skin tone, and clothing
- A true showcase piece that demonstrates real technical skill
Size & Dimensions
- Height: 25-35cm
- Yarn Needed: 150-250 grams total
Best Color Combinations
- Soft and Sweet: Blush + Cream clothing with brown yarn hair
- Bold and Modern: Mustard + Teal outfit with black yarn hair
- Classic Neutral: White + Denim-blue outfit
Customization & Variations
- Create removable outfits so the character can be “dressed” in different looks
- Add yarn hair in braids, buns, or loose curls
- Use joint discs for genuinely poseable limbs
- Personalize skin and hair tones to match a specific recipient
- Add small accessories like a hat, bag, or shoes
Perfect For
- Experienced crocheters – a genuine skill-building challenge
- Personalized, one-of-a-kind gifts
- Keepsake toys – often kept well into adulthood
- Crocheters ready to plan a project rather than just follow one
Pro Tips & Maintenance
- Build the body in sections and test-fit pieces together before final assembly to check proportions
- Use locking stitch markers to track rows on limbs so both sides match exactly
- Attach hair using a fringe or looped technique for the most natural movement
- Hand wash gently, avoid soaking the head if safety eyes are used, and air dry fully before returning to play
4. Quick Amigurumi Patterns
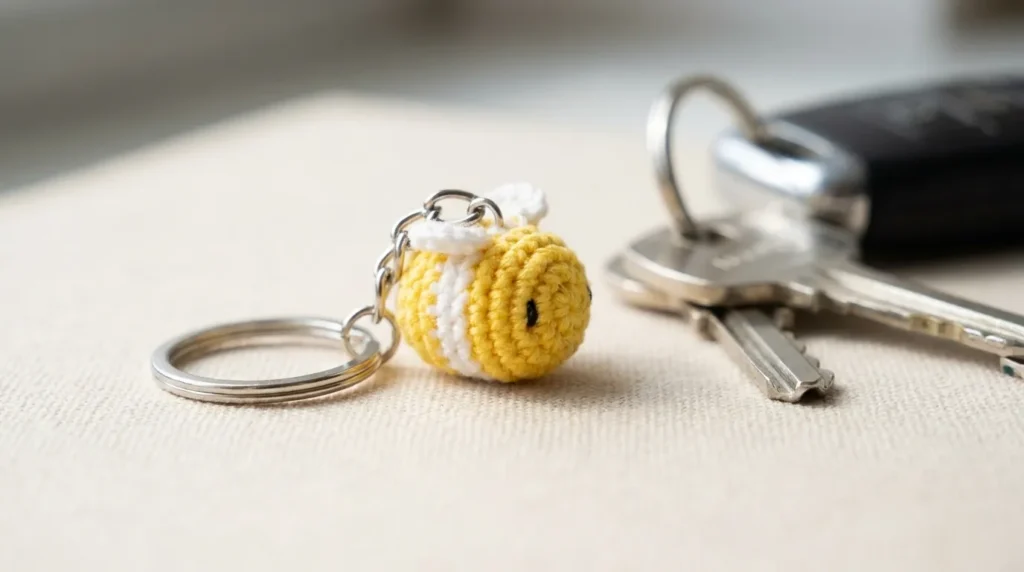
Not every amigurumi project needs to be a big commitment. This category of amigurumi crochet patterns is built around speed pieces you can realistically finish in under two hours, which makes them perfect for last-minute gifts or simply satisfying the urge to finish something.
Difficulty Level
Beginner to Intermediate | Estimated Time: Under 2 hours
Materials You’ll Need
- Yarn: Fingering or sport weight cotton yarn (10-25g)
- Hook Size: 2mm – 2.75mm
- Additional Items: Small amount of fiberfill, keyring or lobster clasp (optional), embroidery floss for tiny details
- Optional Embellishments: Miniature bow, tiny embroidered face, contrast color patches
Key Features & Benefits
- Genuinely fast – realistic to finish in a single short sitting
- Minimal yarn required, making it an ideal stash-buster
- Low-pressure practice for testing a new pattern in miniature
- Great for batch-making multiples quickly
Size & Dimensions
- Height: 4-8cm
- Yarn Needed: 10-25 grams
Best Color Combinations
- Bright and Playful: Yellow + White
- Soft Neutral: Cream + Tan
- Bold Mini: Red + Black
Customization & Variations
- Recreate a mini version of any larger amigurumi pattern
- Add a small bell or charm for extra detail
- Make a themed set for holidays or seasons
- Use leftover scrap yarn for a completely free project
- Attach to a bag zipper or keyring for practical everyday use
Perfect For
- Last-minute gifts – party favors, stocking stuffers, teacher gifts
- Beginners – low-pressure practice for tension and shaping
- Stash-busters – uses very small amounts of yarn
- Anyone wanting a quick, satisfying finish
Pro Tips & Maintenance
- Use a smaller hook than usual since these pieces are worked at a miniature scale
- Secure any keyring attachment with reinforcing stitches so it doesn’t pull loose
- Avoid small glued-on parts if the piece might end up with young children
- Spot clean only, since frequent handling can loosen embroidered details over time
5. Amigurumi Patterns for Selling
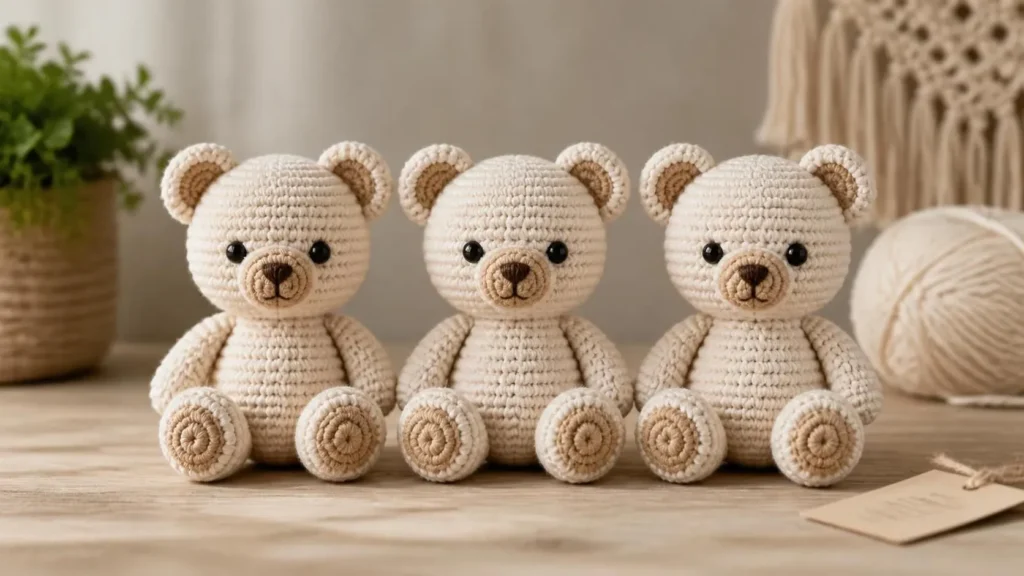
If you’re thinking about turning your hobby into a small side income, this category of amigurumi crochet patterns is worth understanding on its own the considerations for pieces you’ll sell are genuinely different from ones you’re making just for yourself or as gifts.
Difficulty Level
Intermediate | Estimated Time: 4-6 hours (per piece, batch-optimized)
Materials You’ll Need
- Yarn: Consistent-dye-lot worsted weight cotton yarn (75-125g per piece)
- Hook Size: 2.75mm – 3.5mm
- Additional Items: Polyester fiberfill, safety eyes rated for toy safety, yarn needle, care and safety labels
- Optional Embellishments: Simple, consistent styling elements that are quick to replicate across a batch
Key Features & Benefits
- Designed for efficient, repeatable batch production
- Uses safety-tested materials appropriate for resale
- Simple enough to maintain consistent quality across multiples
- Balances a reasonable price point with a realistic time investment
Size & Dimensions
- Height: 10-15cm (a popular, cost-effective size range for selling)
- Yarn Needed: 75-125 grams per piece
Best Color Combinations
- Best-Selling Neutral: Cream + Tan (broadly appealing, easy to photograph)
- Trend-Aware: Sage Green + Blush (currently popular color pairing)
- Classic Bright: Yellow + White (strong shelf and photo appeal)
Customization & Variations
- Pick one core design and offer it in multiple colorways rather than many different designs
- Keep embellishments simple and fast to replicate across a batch
- Use safety-certified eyes and materials appropriate for children’s toys
- Attach a care tag and maker’s label for a professional finish
- Photograph a consistent styling setup to make listings look cohesive
Perfect For
- Crafters exploring craft fairs or online shops (Etsy, local markets)
- Batch production – making several of the same design efficiently
- Intermediate crocheters ready to think about consistency and safety standards
- Building a small, sustainable handmade business
Pro Tips & Maintenance
- Buy yarn from the same dye lot for a whole batch to avoid noticeable color differences between pieces
- Track your actual time per piece so you can price fairly for the labor involved
- Always disclose care instructions to buyers, since handmade toys often require gentle hand washing
- Keep a simple, repeatable process (same pattern, same finishing steps) to maintain consistent quality as you scale up
Conclusion: There’s an Amigurumi Pattern for Every Stage
That’s what makes amigurumi crochet patterns such a rewarding corner of the craft there’s a genuine, clear progression from your very first simple shape to a fully poseable, dressed character, and every stage in between is satisfying in its own way. Start where you actually are, not where you think you should be, and the rest of the skill set will come with time.
Looking for more handmade inspiration? Explore our other collections, including our amigurumi crochet ideas, for even more projects to add to your list.
Ready to make your next amigurumi? Pick the skill level that matches where you are today, grab your hook, and let’s get stitching.
Your next tiny handmade friend is just a few stitches away. Let’s get hooking!