Free Crochet Simple Tote Bag Pattern | Easy Beginner Tutorial
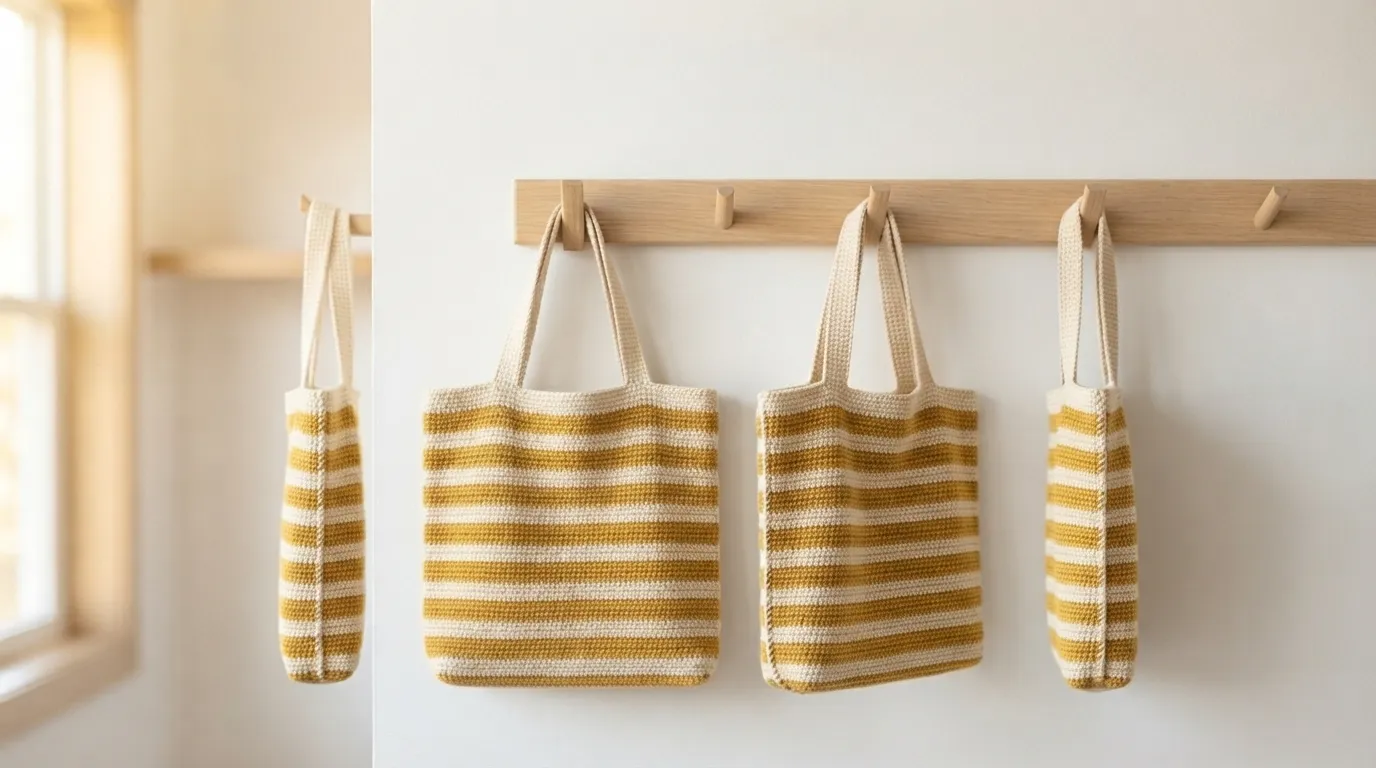
Crochet Simple Tote Bag Tutorial
Looking for a free crochet simple tote bag that you can finish in a weekend? This pattern is for you. It’s worked in basic single crochet, so you only need one stitch to make a sturdy bag that holds its shape. It’s big enough for books, a laptop, or your daily essentials.
Table of Contents
You make one big rectangle, fold it in half, sew the sides, and add handles. No increases, no shaping, and no complicated joining. Want more ideas? Browse our full list of free crochet bag patterns for beginners.
Stay updated!
Don’t lose this pattern! Save it to Pinterest so you can come back to it anytime. Want more? Follow our Crochet Bags board for new free patterns every week.
Pattern Information
Materials
- Worsted weight cotton or cotton blend yarn (#4 medium), about 200 to 250 g (roughly 340 to 420 yards / 310 to 385 m)
- 5 mm (H-8) crochet hook
- Yarn needle
- Stitch markers
- Scissors
- Lining fabric and sewing supplies (optional)
Crochet Abbreviations (US Terms)
- ch: chain
- sl st: slip stitch
- sc: single crochet
- st(s): stitch(es)
- RS: right side
- rnd: round
Gauge
14 sc and 16 rows = about 4 inches (10 cm). Make a small swatch before you start, and if yours is smaller or bigger, change your hook size.
Dimensions
About 12 x 13 inches (30 x 33 cm), not including the handles. Handle drop is about 10 inches (25 cm).
Notes and Tips
- The bag is made of one long rectangle that’s folded in half, so you won’t need to shape anything.
- Use cotton yarn, because it’s stronger than acrylic and holds the weight of the bag better.
- Keep your tension a little tight, so the fabric is firm and doesn’t have gaps.
- Ch 1 at the beginning of a row doesn’t count as a stitch. Count your stitches every few rows (you should always have 42).
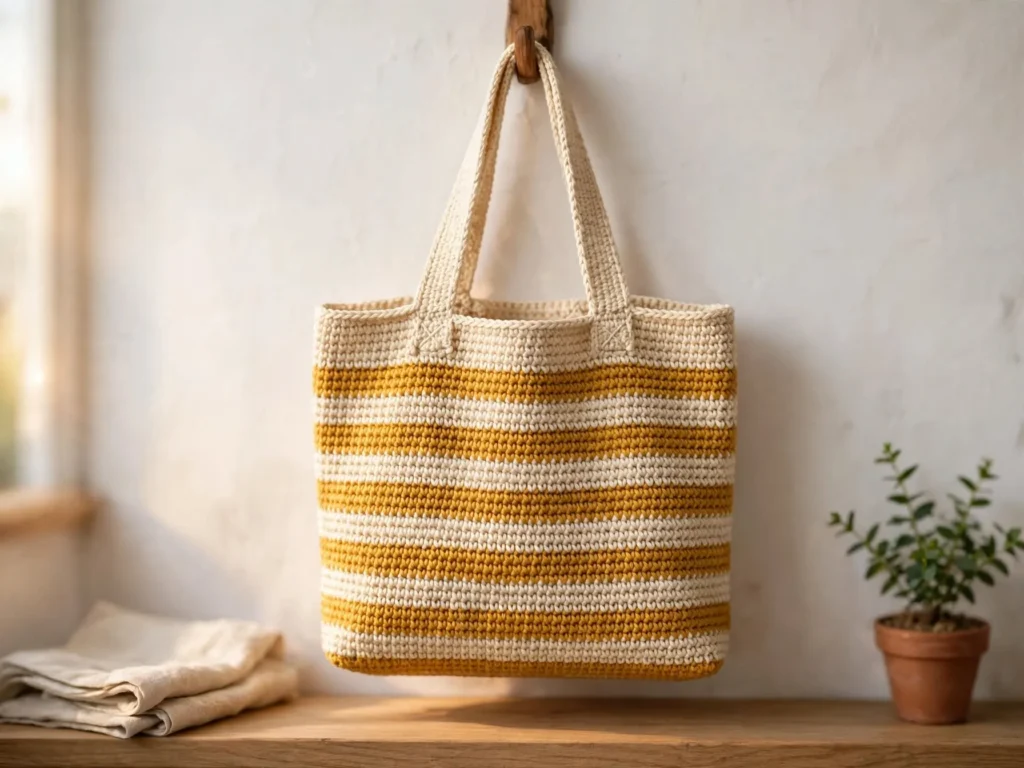
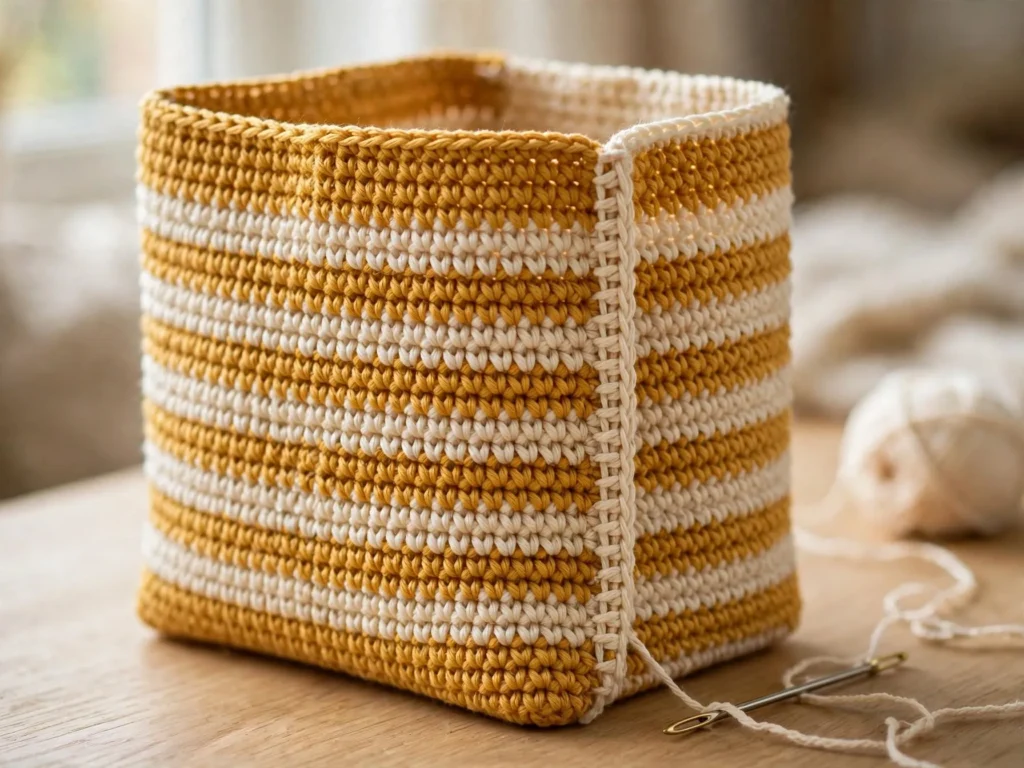
- Want a striped bag? Change color every 6 to 8 rows.
Free Crochet Simple Tote Bag Pattern Video Tutorial
Crochet Simple Tote Bag Pattern
Body Panel
Ch 43.
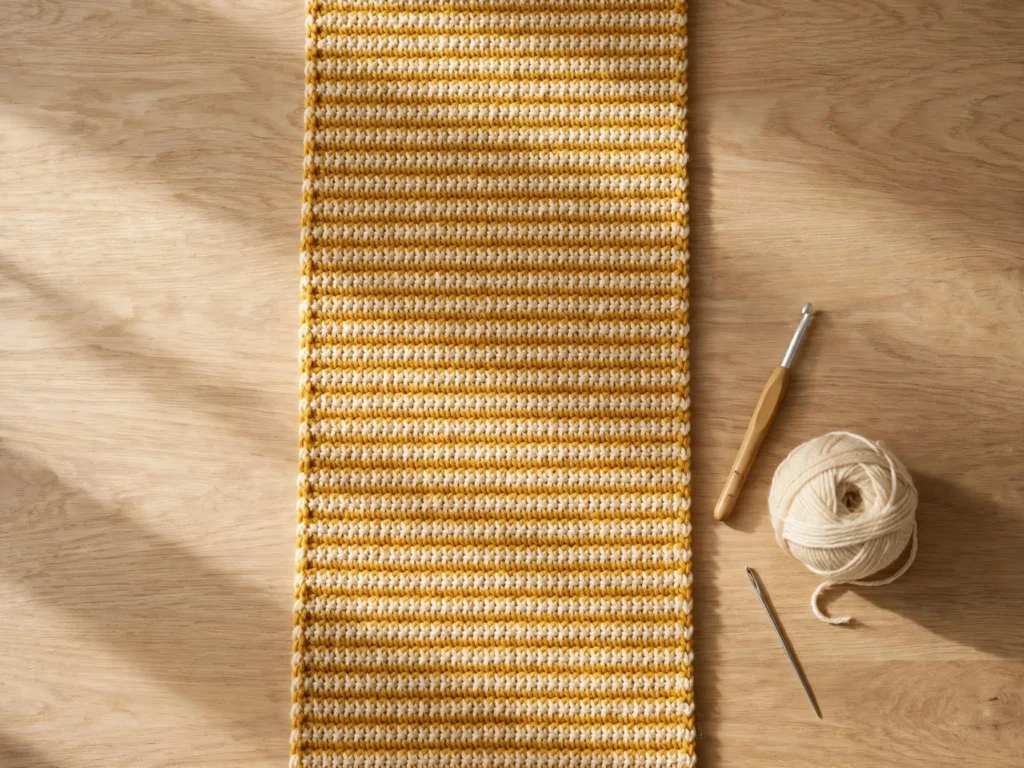
Row 1: Sc in the 2nd ch from the hook and in each ch across. Ch 1, turn. (42 sc)
Row 2: Sc in each sc across. Ch 1, turn. (42 sc)
Rows 3 to 100: Repeat row 2 until the piece measures about 26 inches (66 cm) long. Measure your piece instead of counting rows, because everyone’s row gauge is different. Fasten off.
Folding and Seaming
Fold the panel in half, with the right sides facing each other and the short ends together. Pin or clip the two sides. With your yarn needle and a long piece of yarn, sew each side seam with a whip stitch, going through both layers. Turn the bag right side out and push out the bottom corners.
Top Border
With the right side facing you, join yarn at one side seam of the top opening.
Rnd 1: Ch 1, sc in each st around the opening, working into the foundation chain on the bottom side. Join with a sl st to the first sc. (84 sc)
Rnds 2 and 3: Ch 1, sc in each sc around. Join with a sl st. Fasten off and weave in your ends.
Marking Handles
Place a stitch marker in the first stitch of the border, at the side seam. Count the stitches and place the other markers in stitches 11 and 32 for the front, and 53 and 74 for the back. Each pair of markers shows where the 2 ends of one handle will go (21 stitches apart, about 6 inches).
Handles (Make 2)
Ch 71.
Row 1: Sc in the 2nd ch from the hook and in each ch across. Ch 1, turn. (70 sc)
Rows 2 to 5: Sc in each sc across. Ch 1, turn.
Fasten off, leaving a long tail for sewing.
Sewing Handles
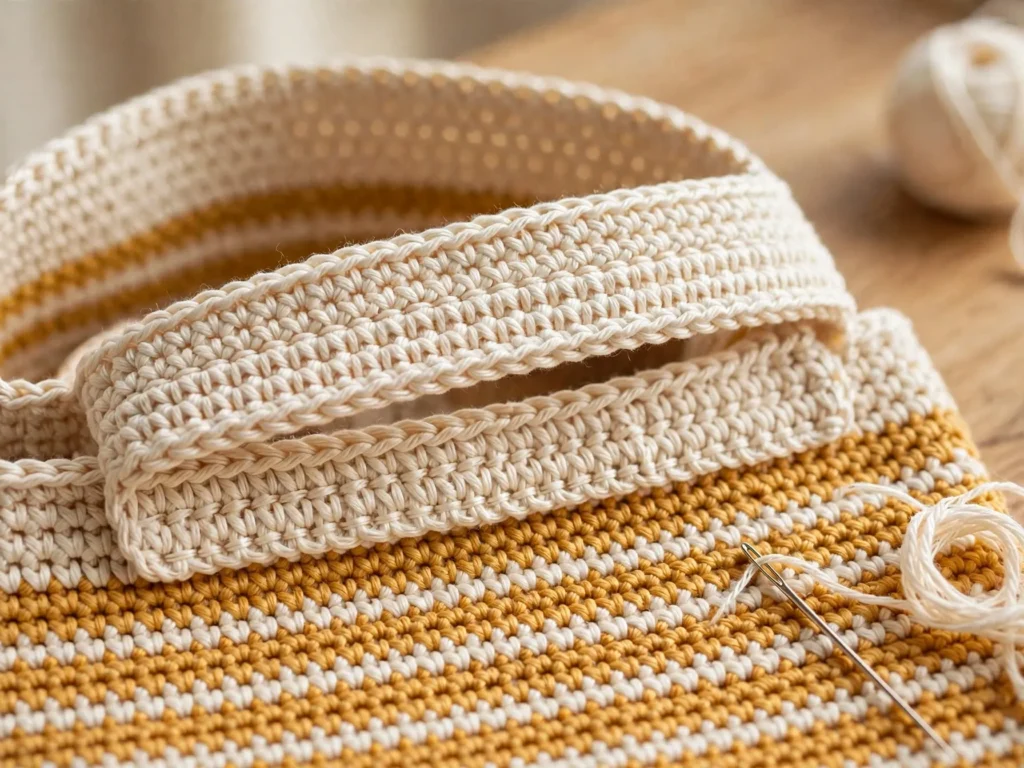
Place one end of a handle on the inside of the border, centered on a marker, overlapping the border by about 1 inch (2.5 cm). Sew it securely with your yarn needle, going through the handle and the bag several times. Reinforce with a second line of stitches for extra strength. Repeat with the other end on the second marker. Sew the second handle on the back in the same way. Remove the markers and weave in all your ends.
Finished Crochet Simple Tote Bag
And that’s it! Your free crochet simple tote bag is ready to go. Make it in neutral colors for a modern look, or go for stripes for something more playful. You can also add a fabric lining and a magnetic snap for a more finished bag.
Loved this pattern? Share your finished bag with us and save this post to Pinterest. Don’t forget to check out more free crochet bag patterns, our classic granny square bag pattern, and our crochet market bag pattern.