
Free Crochet Classic Granny Square Bag Pattern | Easy Beginner Tutorial
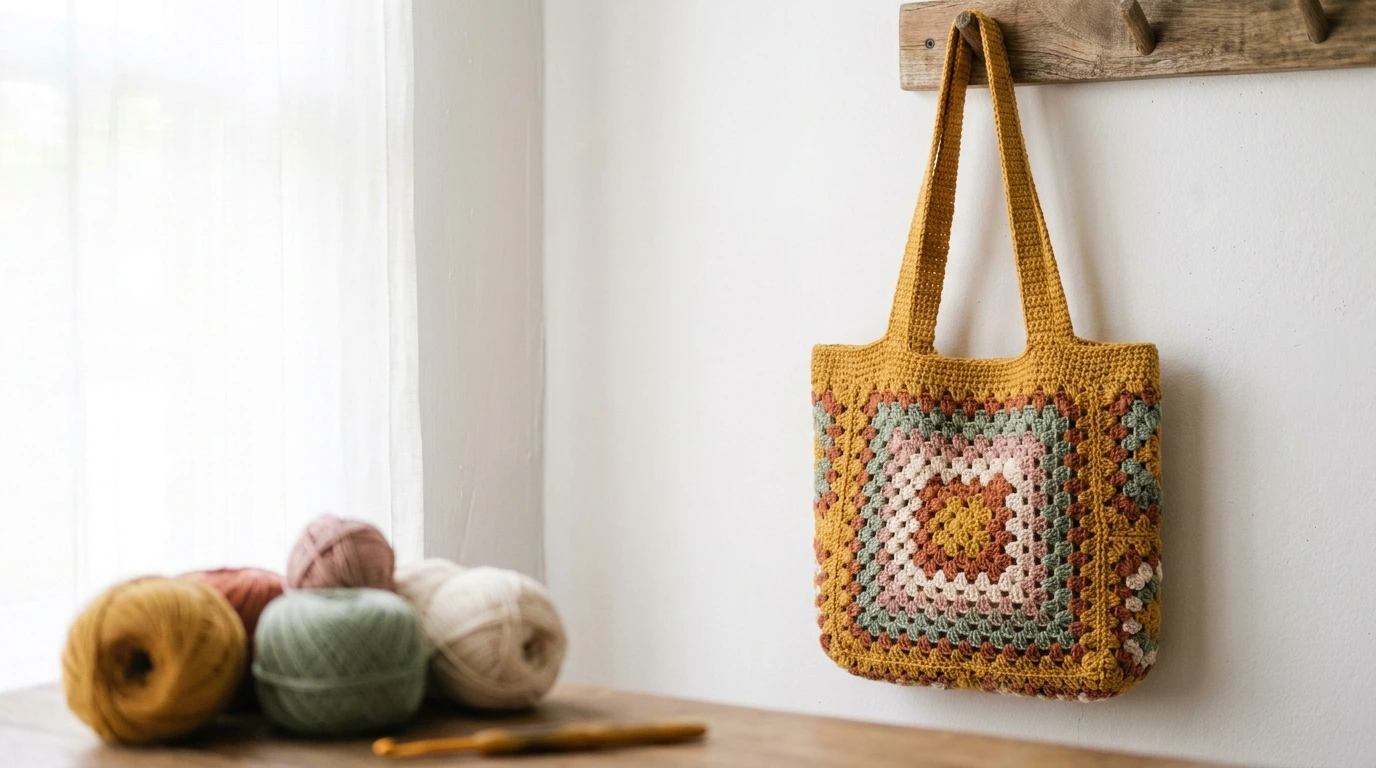
This free crochet classic granny square bag pattern is the perfect project if you’re new to crochet. You only need to know a few basic stitches, and you’ll make small squares that are easy to carry around and finish one at a time. Then you’ll join them into a sturdy, colorful bag you’ll want to use every day.
Table of Contents
It’s also a great way to use up leftover cotton yarn. Want more ideas? Browse our full list of free crochet bag patterns for beginners.
Stay updated!
Don’t lose this pattern! Save it to your Pinterest board so you can come back to it anytime, and follow us for new free crochet patterns every week.
Pattern Information
Materials
- Worsted weight cotton yarn, about 200 to 250 g in total (use 4 to 6 colors, or 1 main color plus 1 border color)
- 5 mm (H-8) crochet hook
- Yarn needle
- Scissors
- Stitch markers (optional)
- Lining fabric and sewing supplies (optional)
Crochet Abbreviations (US Terms)
- ch: chain
- sl st: slip stitch
- sc: single crochet
- dc: double crochet
- sp: space
- rnd: round
Gauge
One granny square (3 rounds) measures about 3.5 inches (9 cm) across. Make one square before you start, and if yours is smaller or bigger, change your hook size.
Dimensions
About 10.5 x 10.5 inches (27 x 27 cm), not including the straps. Each strap is about 22 inches (56 cm) long.
Notes and Tips
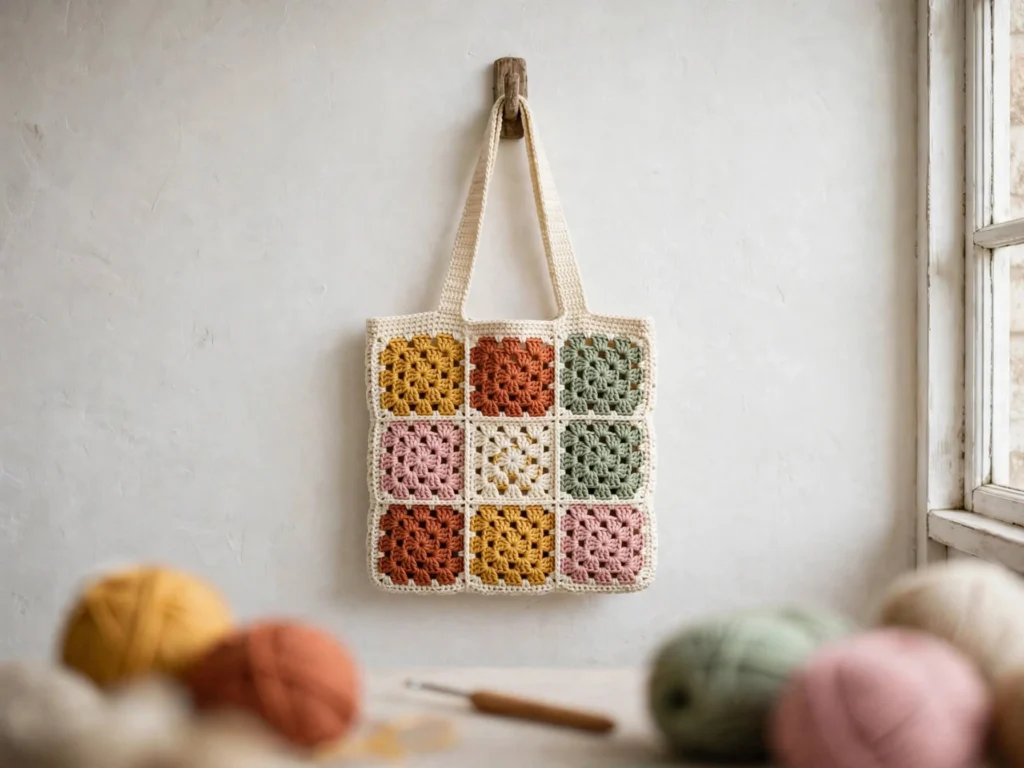
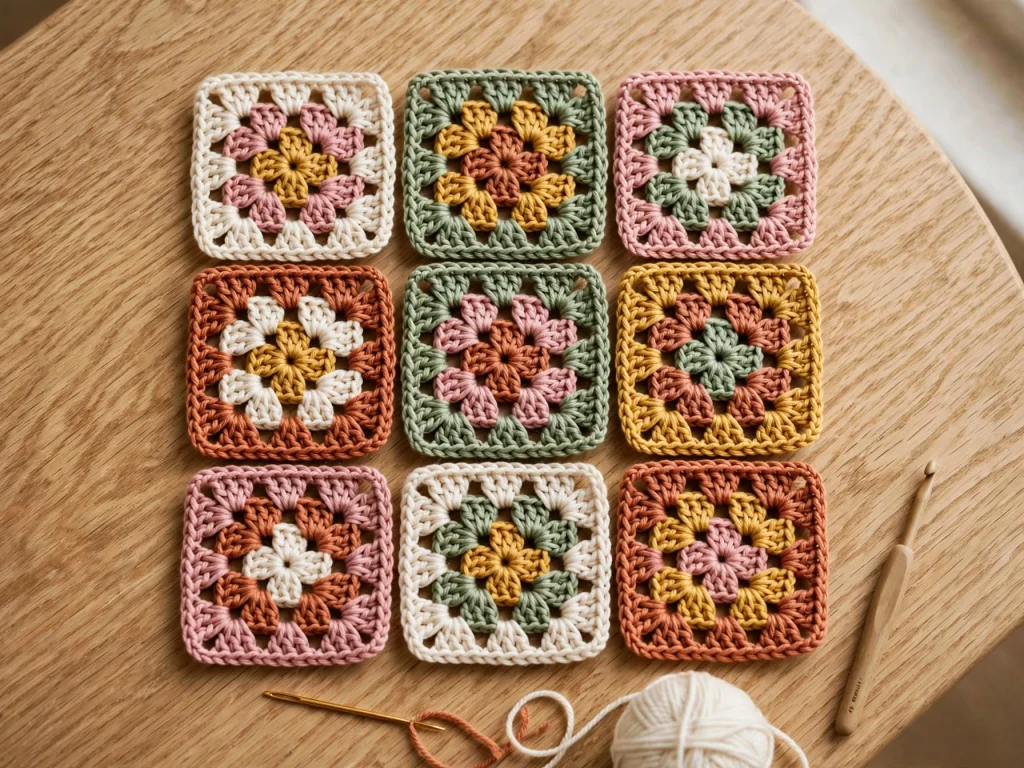
- The bag is made of 18 granny squares: 9 for the front and 9 for the back.
- Make your squares first, so you can carry the project with you.
- Block your squares before joining them so they have the same size.
- Choose cotton yarn, because it’s stronger than acrylic and holds the weight of the bag better.
- Ch 3 at the beginning of a round counts as your first dc.
Free Crochet Classic Granny Square Bag Pattern
Granny Square (Make 18)
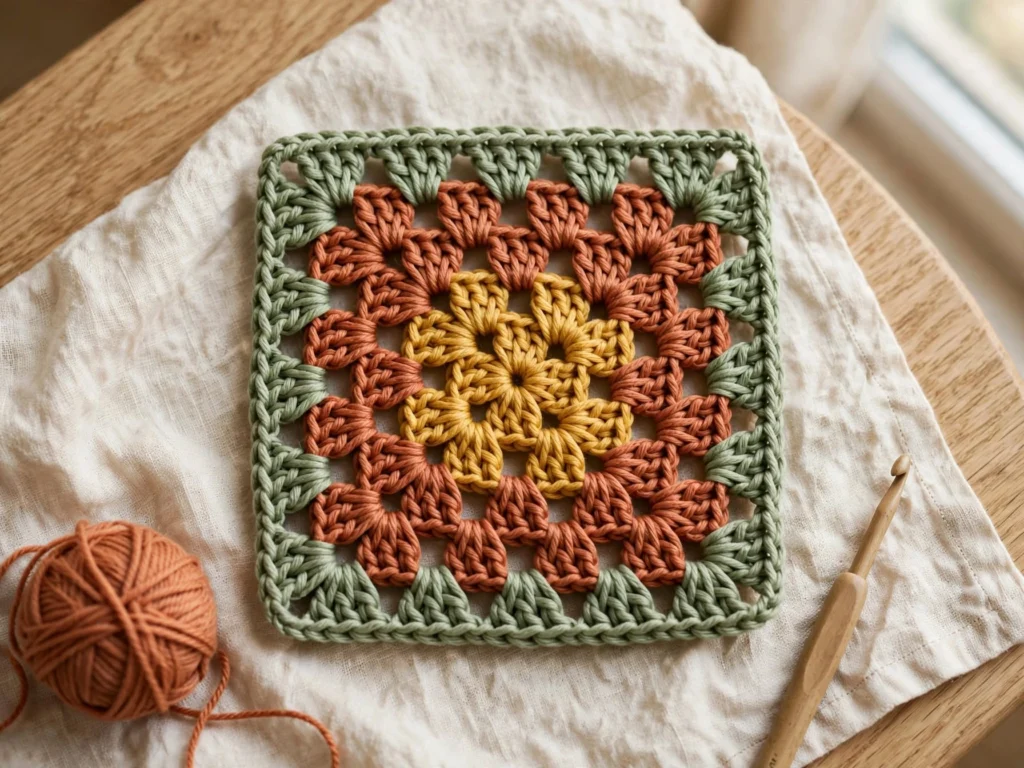
Make a magic ring, or ch 4 and join with a sl st to form a ring.
Rnd 1: Ch 3, 2 dc in the ring, ch 2, (3 dc in the ring, ch 2) 3 times. Join with a sl st to the top of the beginning ch-3. You now have 4 groups of 3 dc and 4 corner spaces. Fasten off, or change color.
Rnd 2: Join the new color in any corner ch-2 space. Ch 3, (2 dc, ch 2, 3 dc) in the same space. Ch 1. (3 dc, ch 2, 3 dc) in the next corner space, ch 1. Repeat from * 2 more times. Join with a sl st to the top of the beginning ch-3.
Rnd 3: Sl st across to the next corner space. Ch 3, (2 dc, ch 2, 3 dc) in the same space. Ch 1, 3 dc in the next ch-1 space, ch 1, (3 dc, ch 2, 3 dc) in the corner space. Repeat from * 2 more times. Ch 1, 3 dc in the last ch-1 space, ch 1. Join with a sl st to the top of the beginning ch-3. Fasten off and weave in your ends.
Joining the Squares
Lay out 9 squares in a 3 x 3 grid for the front. Place two squares together with the right sides facing each other and sc through the back loops of both squares along one side. Join the squares in 3 rows of 3, then join the 3 rows together. Repeat for the back panel.
Assembling the Body
Place the front and back panels together with the right sides facing each other. Sc through both layers along the bottom and the two sides, working in each stitch and in each ch space. Turn the bag right side out.
Top Border
With the right side facing you, join yarn at a side seam. Rnd 1: Ch 1, sc evenly around the top opening (1 sc in each dc and in each ch space). Join with a sl st. Rnd 2: Ch 1, sc in each sc around. Join, fasten off, and weave in your ends.
Straps (Make 2)
Ch 85 (or to the length you want).
Row 1: Sc in the 2nd ch from the hook and in each ch across. Ch 1, turn.
Rows 2 to 4: Sc in each sc across. Ch 1, turn.
Fasten off, leaving a long tail for sewing.
Attaching the Straps
Place one strap end on the inside of the front panel, about 2 inches (5 cm) from the side edge, overlapping the border by about 1 inch (2.5 cm). Sew it securely with your yarn needle, going through the strap several times. Repeat with the other end of the strap, then do the same for the back panel. Weave in all your ends.
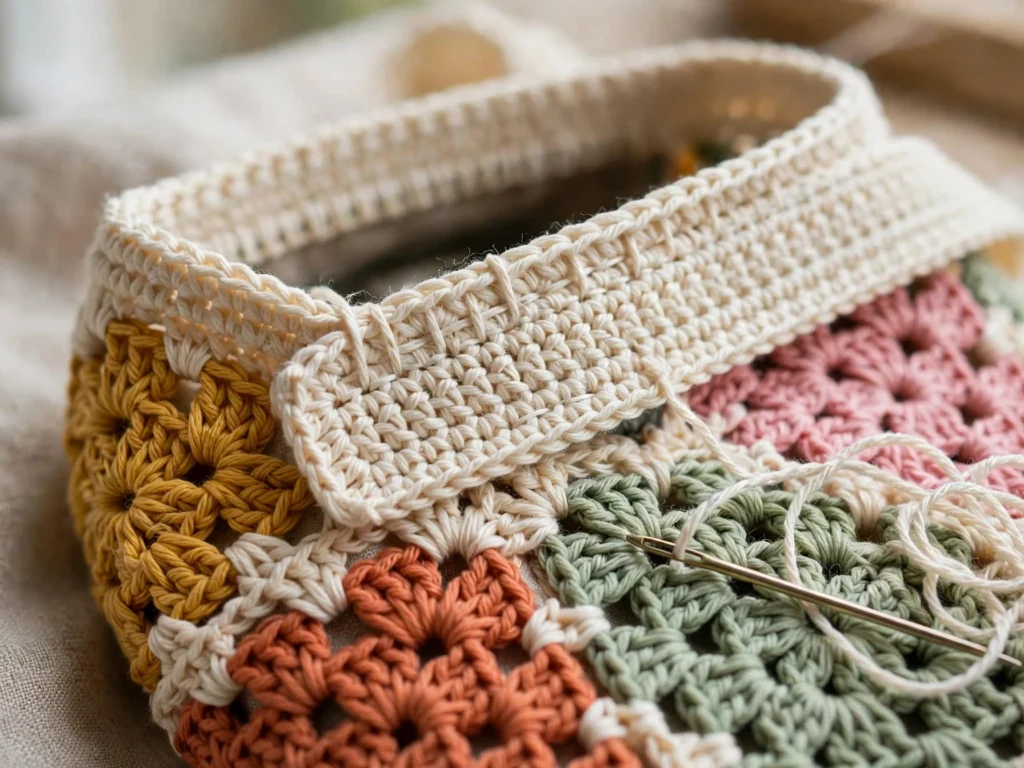
Finished Classic Granny Square Bag
And that’s it! Your free crochet classic granny square bag is ready to use. Mix colors for a rainbow look, or choose neutral shades for a more modern style. You can also add a lining or a button closure for a more finished bag.
Loved this pattern? Share your finished bag with us, and save this post to Pinterest. Don’t forget to check out more free crochet bag patterns and our guide on best yarn for crochet bags.