Baby Panda Crochet Pattern: Step-by-Step Project Guide
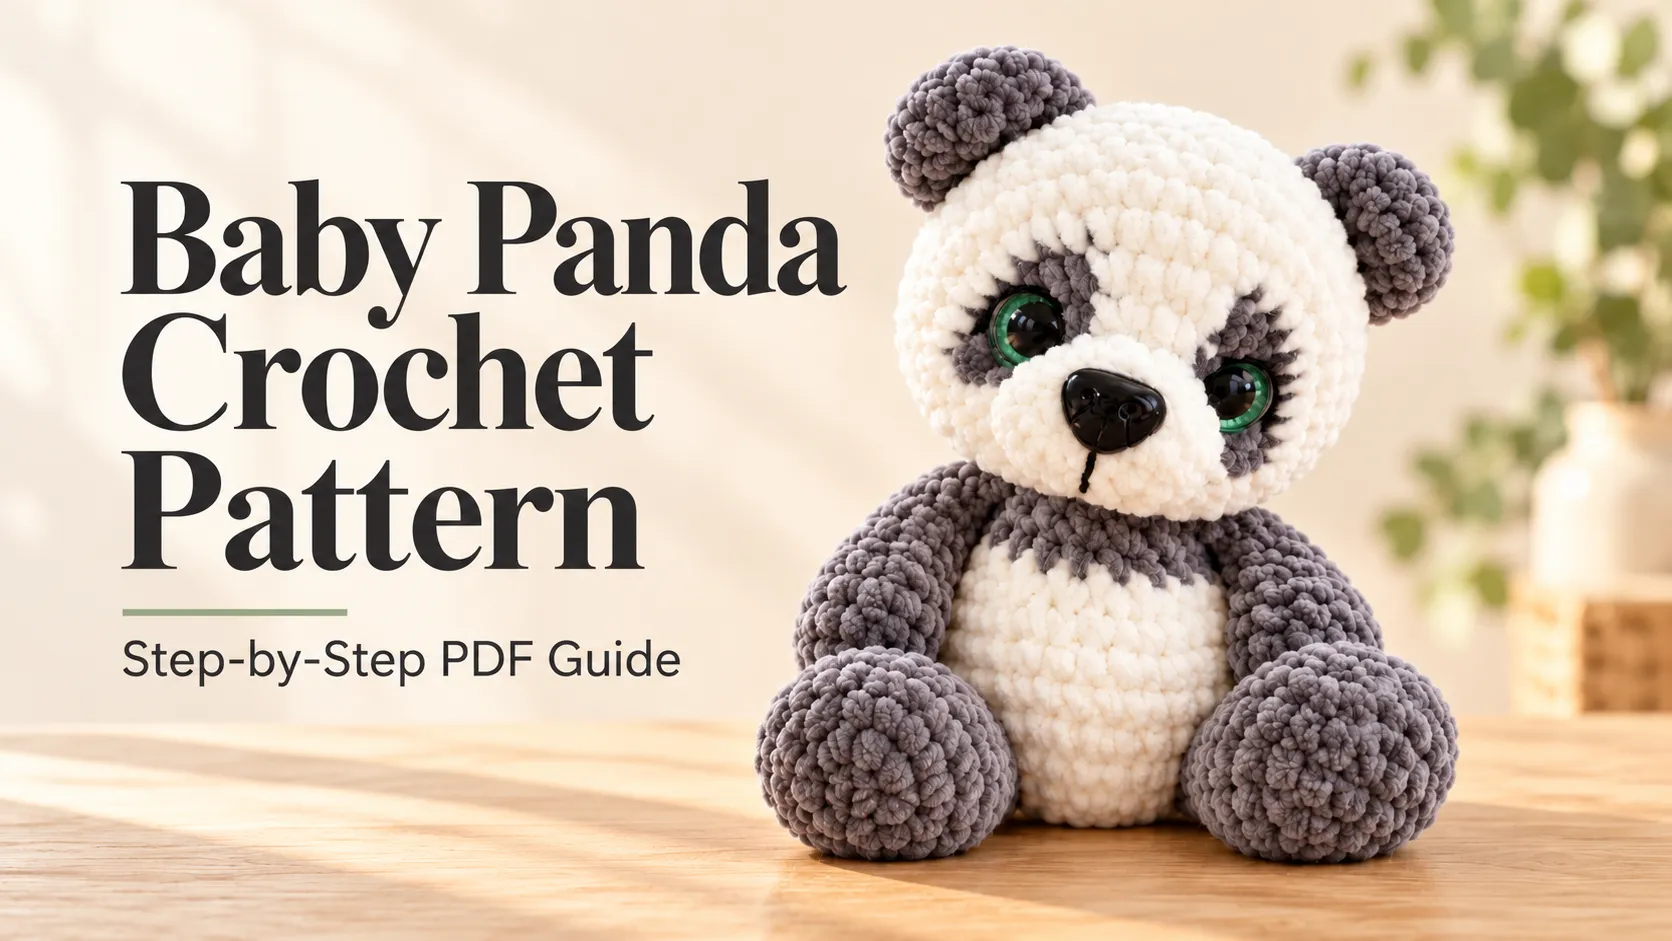
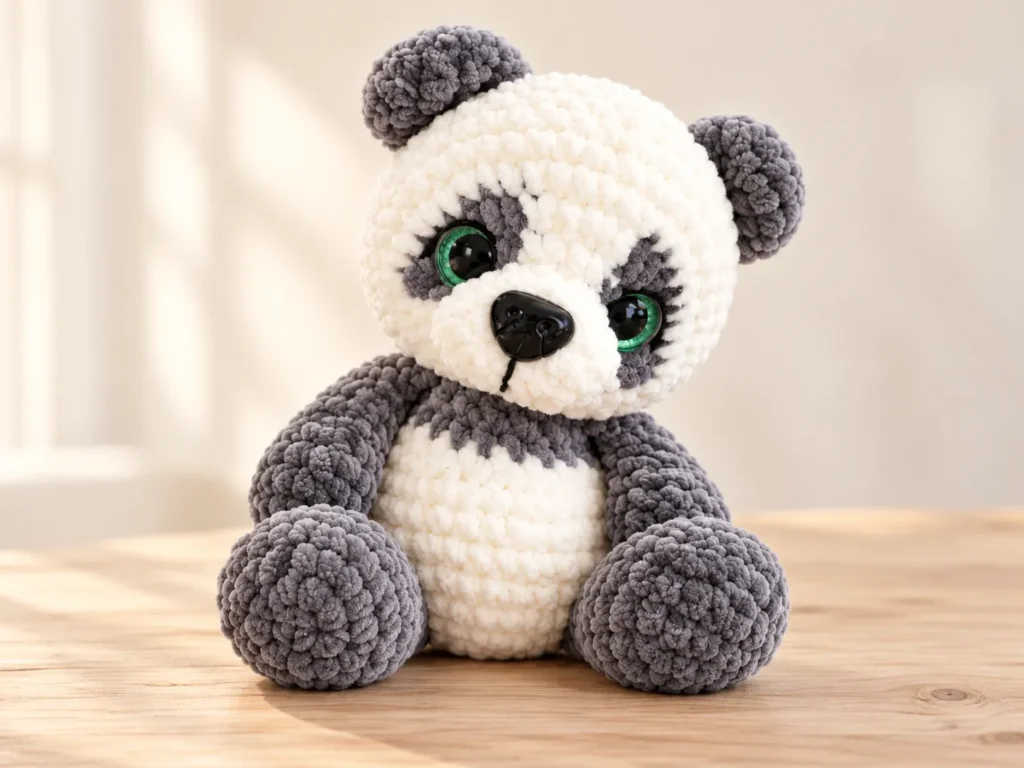
A rounded little face, soft gray paws, and a cream-colored belly give this baby panda its gentle expression. It’s a project where the small finishing touches matter: the curve of the cheeks, the position of the ears, and the way the head rests above the body all contribute to its character.
This baby panda crochet pattern uses plush yarn to create a panda approximately 20 cm tall with the listed materials. The contrasting eye patches are worked into the head, and the arms and legs are joined while crocheting the body.
In this guide, we’ll walk through the project from preparation to final assembly. You’ll learn what to gather, how the pieces come together, and which details deserve extra attention.
This article is a project companion, not the complete crochet pattern. For the exact rounds, stitch counts, color-change sequences, and facial sculpting references, use the downloadable PDF.
Ready to make your own? [Get the Baby Panda Crochet Pattern PDF] → LINK
Table of Contents
Baby Panda Crochet Pattern: Project Overview
Before choosing your yarn, take a moment to consider the size, construction, and skills involved.
| Project detail | What to expect |
|---|---|
| Finished height | Approximately 20 cm with the listed yarn and hook |
| Main yarn | Super bulky velvet or plush yarn |
| Yarn quantity | Approximately 60–70 g total |
| Hook | 3.5 mm |
| Terminology | US crochet terms |
| Construction | Separate head and smaller pieces, with limbs joined during body construction |
| Finishing | Stuffing, facial sculpting, embroidery, and sewing |
This project is best approached with some experience in amigurumi. The stitches are familiar, but working an oval start, changing colors around the face, and shaping the expression require concentration.
There is no fixed completion time listed in the PDF. Give yourself room to work in several sessions, particularly for the head and finishing.
Materials and Tools You’ll Need
Gather the supplies before starting so you can move from crocheting to assembly without interrupting your progress.
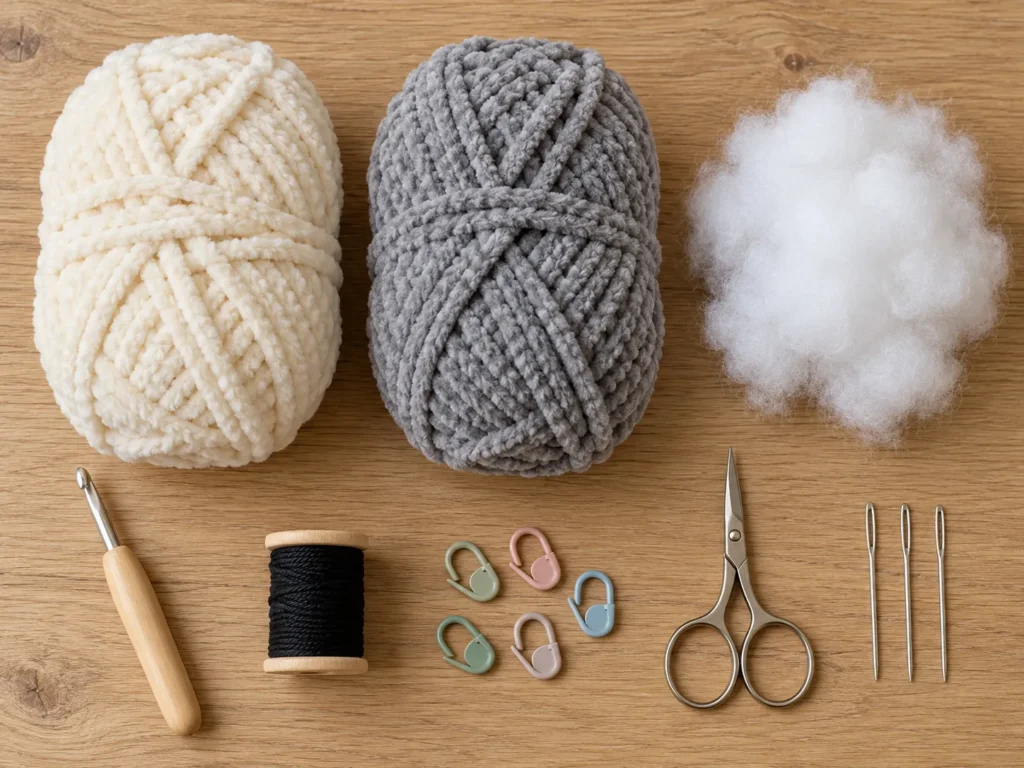
Plush Yarn
The pattern specifies Himalaya Dolphin Baby, 100 g / 120 m, or a comparable super bulky velvet yarn.
You’ll need approximately:
- 35–40 g of dark yarn for the contrasting areas.
- 25–30 g of white yarn for the lighter areas.
The photographed panda uses gray and cream for a softer contrast. Yarn consumption and finished size may change with substitutions or different tension.
You’ll also need fine black yarn for the embroidered facial details. The PDF lists YarnArt Jeans, 50 g / 160 m.
Tools and Finishing Supplies
- 3.5 mm crochet hook.
- Stitch marker.
- Scissors.
- Fiberfill stuffing.
- Large-eye sewing needle.
- An 8–10 cm needle and a strong needle suitable for sculpting.
- Strong thread for facial shaping.
- Sewing pins.
- Two long needles for temporarily positioning the head.
- 16 mm safety eyes.
- A safety nose measuring 18 × 15 mm or 16 × 14 mm.
A note about facial features: The PDF warns that plastic eyes and noses can present a choking hazard for young children. For a panda intended for a baby or toddler, use embroidered features instead. The name “baby panda” describes the design, not a toy-safety certification.
Crochet Stitches and Abbreviations
The PDF uses US crochet terminology throughout.
| Abbreviation | Meaning |
|---|---|
| MR | Magic ring |
| CH | Chain |
| SL ST | Slip stitch |
| SC | Single crochet |
| INC | Increase: work two single crochets into one stitch |
| DEC | Decrease: work two stitches together |
| (…) × 6 | Repeat the bracketed instructions six times |
| (N) | Total stitch count at the end of the round |
You’ll also work around both sides of a starting chain to form the head’s oval beginning.
For the facial color changes, the pattern instructs you to introduce the next color on the final yarn-over of the preceding stitch. Follow the PDF’s color sequence carefully, since it determines the placement of the eye patches.
Before You Start
Check the Fabric Density
The stuffing should stay hidden behind the stitches. Make sure your yarn and hook combination produces a dense fabric without becoming uncomfortable to work.
If you substitute yarn, assess the fabric itself rather than relying only on the size printed on the hook.
Mark and Count Your Rounds
Plush yarn can make individual stitches harder to distinguish. Keep the beginning of each round marked and check the total before continuing.
It’s easier to correct a missed increase immediately than to discover it several rounds later, particularly around the panda’s face.
Organize the Pieces
Keep matching parts together as you finish them. The project includes two ears, two arms, two legs, a head, a body, and a tail.
Leave the sewing ends requested by the pattern. You’ll use the body and tail ends during final assembly.
How to Make Your Crochet Baby Panda: Step by Step
The following stages explain the construction process and the finishing decisions involved. Keep the PDF beside you for the working instructions.
Step 1: Crochet the Two Ears
Begin with the darker plush yarn.
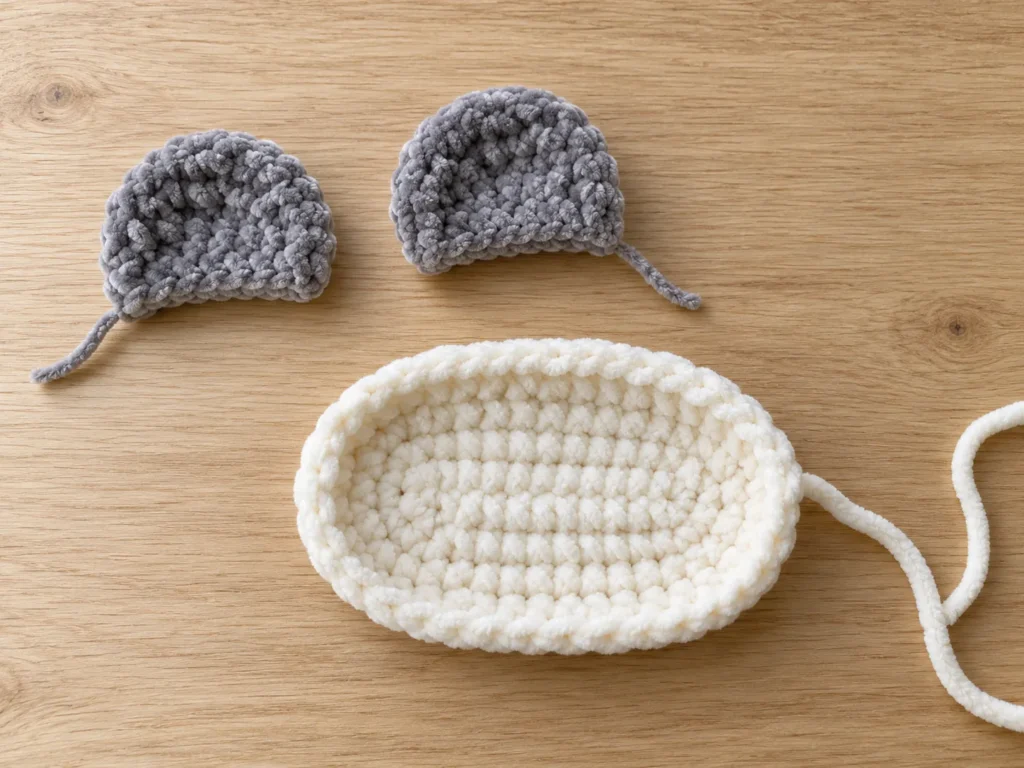
The ears are small rounded pieces that are folded and closed along the bottom. This gives them a neat attachment edge and their characteristic curved shape.
Compare the finished ears before moving on. Their size and density should be similar, since uneven ears are noticeable once they frame the face.
Set both aside for the head stage.
Step 2: Begin the Head and Snout
The head starts with white yarn worked around a short chain to form an oval.
This is different from simply crocheting a circular piece from a magic ring. You’ll work along one side of the chain, around the end, and back along the opposite side.
Identify the starting point carefully and follow the early rounds without rushing. The foundation establishes the snout area and influences where the facial markings will sit.
Step 3: Work the Eye Patches
The dark eye patches are incorporated through color changes as the head develops.
Follow the exact stitch and color sequence in the PDF. Keep the yarn tension steady when switching colors, and check the stitch totals before continuing in white.
At this stage, the unstuffed head may not yet resemble the finished panda. Focus on following the construction rather than trying to force the fabric into its final shape.
Once more of the head is complete, the relationship between the patches and snout becomes easier to see.
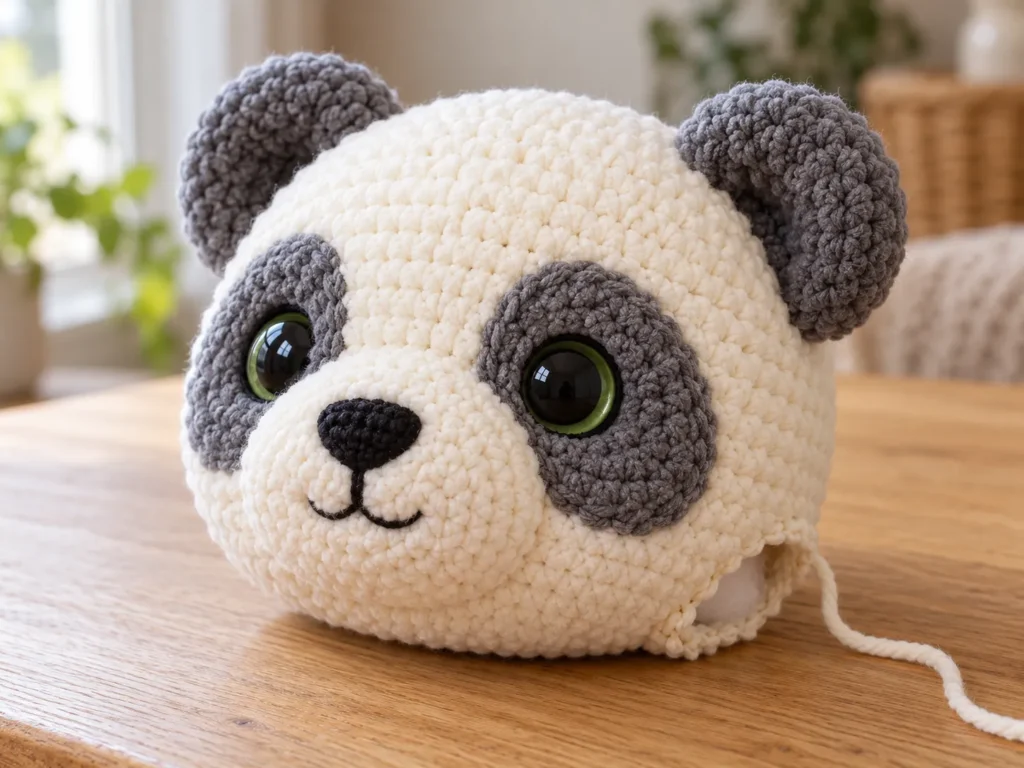
Step 4: Attach the Ears and Position the Features
The pattern provides a round where the ears are joined into the head. It also allows them to be sewn on later if needed.
Before continuing, check that both ears sit evenly relative to the front of the face. View the head straight on and from above.
Position the eyes and nose according to the PDF before closing the head. If using plastic features for an appropriate recipient, check their alignment before securing the washers.
Facial placement makes a noticeable difference to the expression, so this is a good point to pause and inspect your work.
Step 5: Stuff and Finish the Head
Add fiberfill gradually as the opening becomes smaller.
The PDF emphasizes filling the snout and cheeks to establish their rounded shape. Use small amounts of stuffing and distribute them deliberately instead of pushing one large clump into the head.
Turn the piece as you work. Check the front and profile to see whether the cheeks are balanced and the snout has enough definition.
Avoid stretching the fabric until stuffing shows between the stitches. Finish the remaining rounds, close the opening, and secure the yarn end as directed.
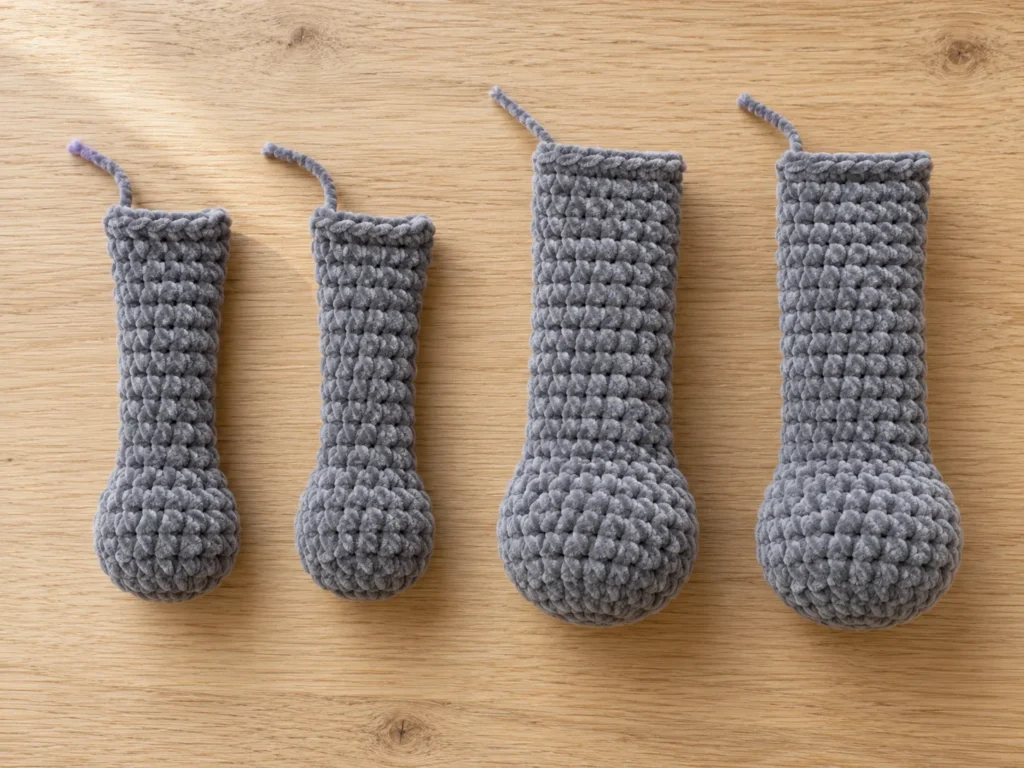
Step 6: Crochet the Arms and Legs
Make two arms and two legs using the darker yarn.
The limbs have fuller lower sections and narrower attachment ends. The pattern calls for stuffing only the lower part of each piece, which helps preserve the intended shape.
Compare the matching pieces as you finish them. Check their length, stuffing level, and closed edges before starting the body.
Since the limbs are joined during body construction, it helps to have all four ready.
Step 7: Crochet the Body and Join the Legs
Start the body in white yarn and follow the increasing rounds to build the rounded lower section.
The legs are joined at the stage specified in the PDF. Keep the body’s front and back orientation clear as you attach them.
After joining, pause to check that the feet face the intended direction and that the legs sit evenly. It’s worth correcting an alignment problem here before the body becomes more enclosed.
Continue shaping the belly according to the written rounds.
Step 8: Change Color and Join the Arms
The upper body changes to the darker yarn, creating the contrast above the cream belly.
Follow the decreases and join the arms where instructed. Check their position against the legs rather than judging each arm on its own.
Before cutting the yarn, inspect the panda from the front. The limbs should look balanced around the body.
Leave the long sewing end required for the head attachment, then fill the body with fiberfill. Shape it gradually, checking that the belly remains rounded without stretching the stitches.
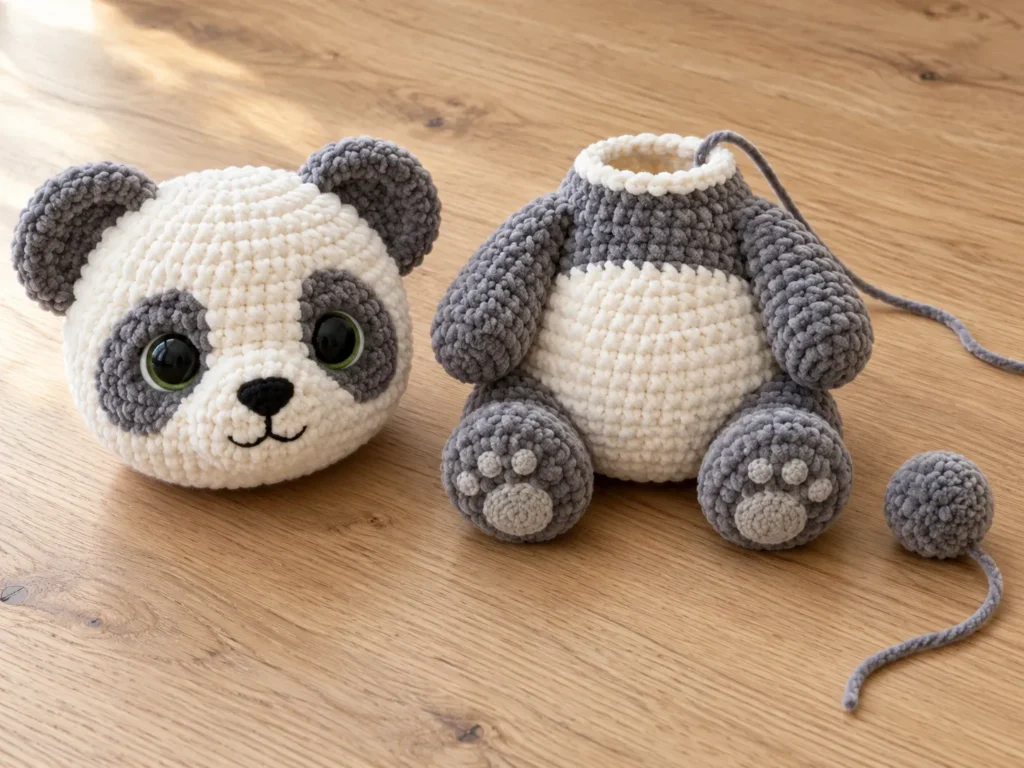
Step 9: Make the Tail
Crochet the small tail following the PDF’s instructions and add stuffing.
Leave a long end for sewing, then set the tail aside until the head and body are assembled. Waiting allows you to assess its final position against the completed panda.
This small piece is easy to overlook, but it finishes the back of the design neatly.
Step 10: Sculpt the Face and Add Embroidery
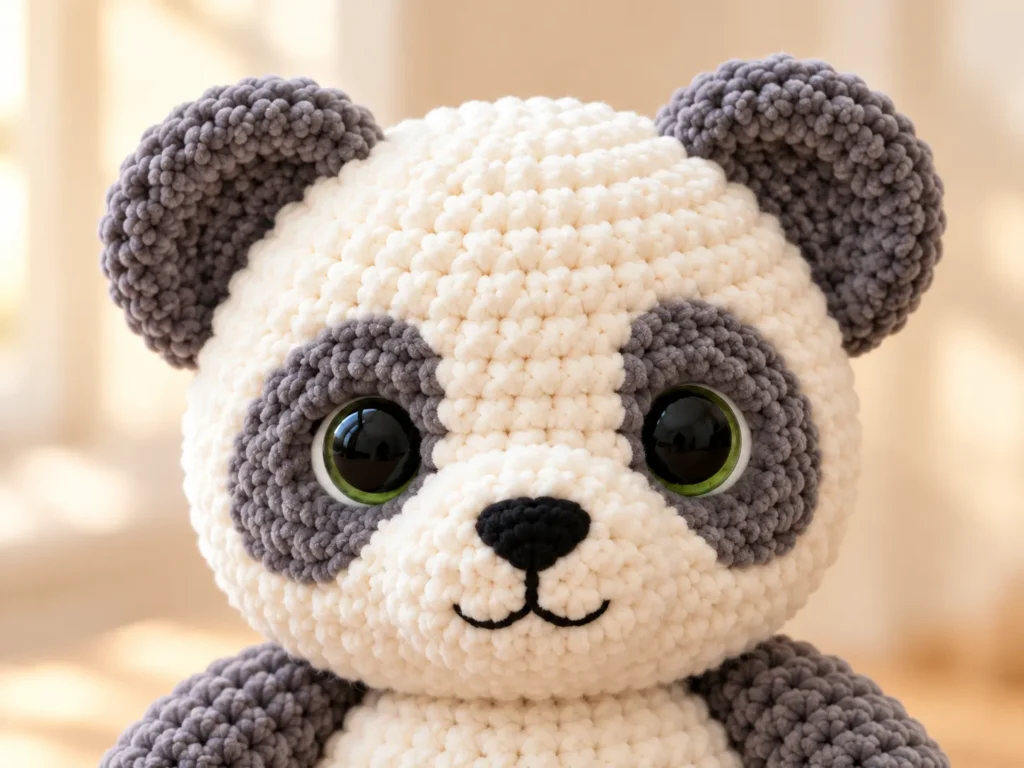
Facial sculpting creates definition around the eyes and cheeks.
Use the marked reference points in the PDF for the needle path. Tighten gradually and evenly, checking the expression as you work.
The aim is controlled shaping. Pulling too hard can distort the head or make one side look different from the other.
Once you are satisfied with the sculpting, add the embroidered eyelids and mouth using fine black yarn. Small, deliberate stitches help keep the expression tidy.
Step 11: Attach the Head and Tail
Position the head on the body before sewing.
The PDF suggests using long needles temporarily to help hold the alignment. Check the front and side views, then sew the head securely while maintaining its position.
Add fiberfill at the neck as directed to support the join. Attach the tail at the position specified in the pattern.
Remove every positioning pin and needle, secure the remaining ends, and inspect the seams.
Color Ideas for Your Baby Panda
The gray-and-cream combination gives this design a gentle contrast, but you can personalize the palette.
- Black and white: A traditional panda color combination.
- Charcoal and ivory: Darker markings with a softer light shade.
- Warm gray and cream: A muted version close to the photographed project.
When choosing substitutes, keep both main yarns similar in thickness and texture. Differences between them can affect the size and appearance of the contrasting sections.
If you’re making a gift, coordinating the wrapping or gift tag with the yarn colors is a simple way to personalize the presentation.
Common Problems to Watch For
The Eye Patches Look Uneven
Check your color changes and stitch counts against the PDF before adding more rounds. A shift early in the face can affect the appearance of later sections.
Stuffing Shows Between the Stitches
Check whether the fabric is too loose or whether too much stuffing has been added. Forcing extra fiberfill into the piece can stretch the gaps further.
The Head Looks Unbalanced
Assess the stuffing before adding more sculpting. Uneven cheeks may need the filling redistributed rather than tighter thread.
The Limbs Point in Different Directions
Inspect the attachment position while working the joining round. Check both limbs together from the front before continuing.
The Head Join Feels Loose
Revisit the seam and the support at the neck. Follow the PDF’s assembly guidance and make sure the connection is secure before considering the project finished.
Care and Maintenance
Follow the care instructions for the yarn you actually use, and consider the stuffing, embroidery, and facial components as well.
Treat the finished panda gently. Avoid pulling it by the ears or limbs, and do not apply heat to reshape synthetic plush yarn.
For a small mark, check the yarn manufacturer’s cleaning guidance before treating the area. Do not assume that instructions for an unworked yarn ball automatically cover every component of an assembled toy.
If the panda is handled regularly, inspect the seams and facial details periodically.
What’s Included in the Baby Panda Crochet Pattern PDF?
The 18-page baby panda crochet pattern PDF brings the project instructions together in one place.
It includes:
- A materials and tools checklist.
- US stitch abbreviations.
- Preparation and stuffing notes.
- Round-by-round directions for the ears, head, limbs, body, and tail.
- Eye-patch color changes.
- Facial feature placement guidance.
- Needle-sculpting instructions and visual references.
- Facial embroidery and assembly guidance.
- A project notebook and progress checklist.
The article helps you understand the process before you begin. The PDF supplies the detailed working instructions needed to follow the design.
This is a digital crochet pattern, not a finished panda.
Frequently Asked Questions
Is This Baby Panda Crochet Pattern Suitable for Beginners?
It is better suited to crocheters who already understand basic amigurumi construction. The oval head start, facial color changes, and sculpting need more attention than a simple single-color shape.
If you are still learning, become comfortable with increases, decreases, and counting rounds before starting.
How Much Yarn Does the Panda Use?
The PDF estimates approximately 60–70 g of the specified plush yarn: 35–40 g of the darker color and 25–30 g of white.
Substituting yarn or changing your tension may affect those quantities.
How Big Is the Finished Panda?
The listed finished height is approximately 20 cm with the recommended materials. Your result may vary with yarn thickness, hook choice, and tension.
Are the Eye Patches Sewn on Separately?
No. In this design, the dark facial markings are created through color changes while crocheting the head.
Does This Article Include the Full Pattern?
No. This article explains the construction stages and offers supporting tips. The paid PDF contains the exact rounds, stitch counts, color sequences, and detailed finishing references.
Conclusion
This baby panda crochet pattern combines plush texture with careful shaping to create a small panda full of character. The main pieces build the form, while balanced stuffing, facial placement, and neat finishing bring the design together.
Take your time with the head, compare the matching pieces, and check alignment before securing the final joins. Those pauses make the assembly process easier to manage.
[Buy the Baby Panda Crochet Pattern PDF and Start Your Project] →LINK
Save this article to your Pinterest amigurumi board so you can return to the project overview and finishing tips when you’re ready to crochet.